Pre-Built Virtual Machines

Here is a virtual machine that contains all the software tools you need for this class. If you are an instructor, email us to get the decryption key for the grading software (the file instructor.zip.aes).

Platform Link Download size (GB)Disk size (GB)
x86-64 ligerlabs-vbox.zip822

Installing the Virtual Machine

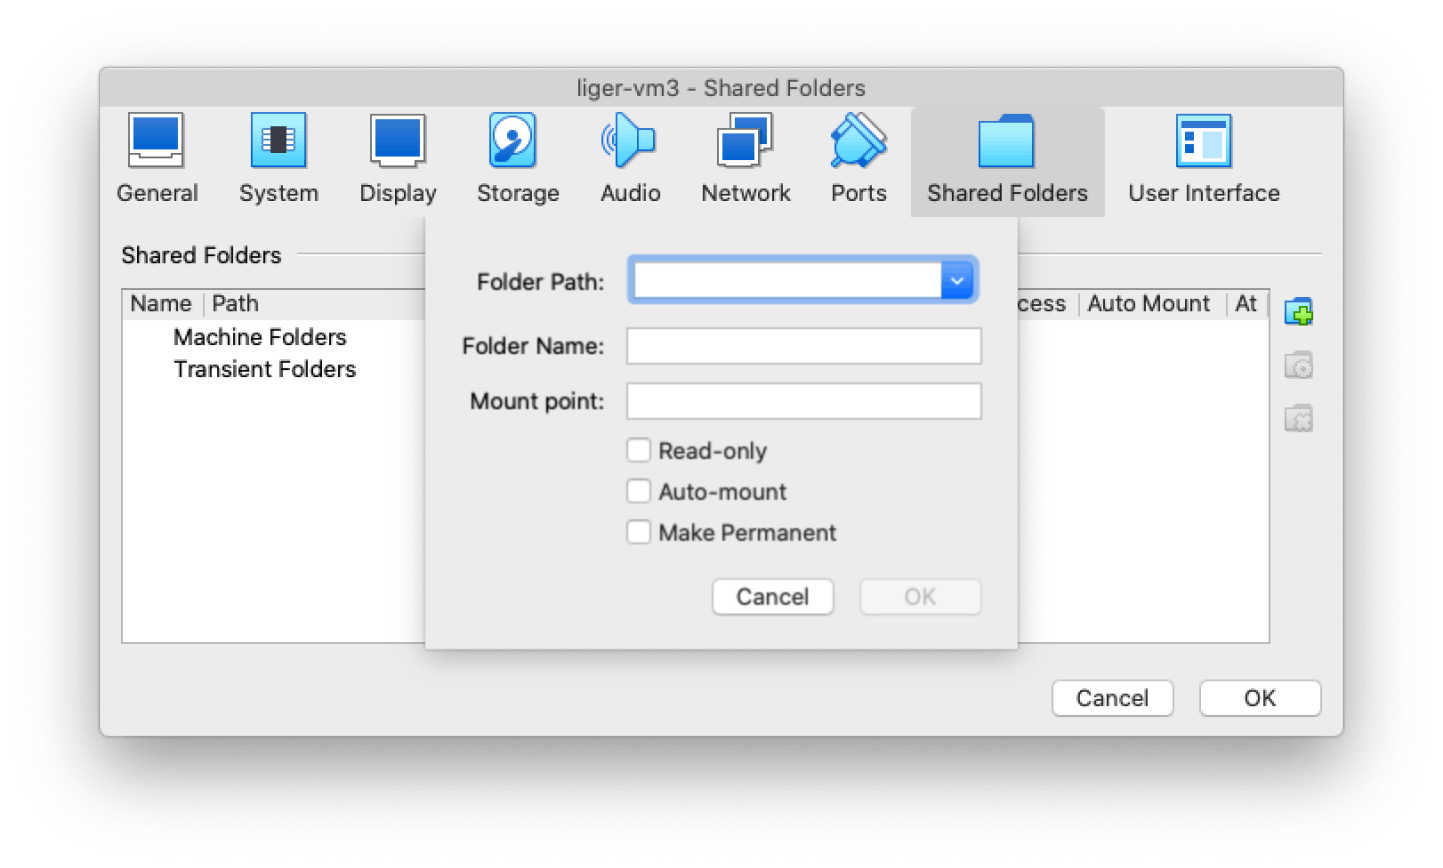
Start by installing Virtualbox on your system. Then follow these steps:

Step I-0: Install VirtualBox

  • Go here and install VirtualBox on your machine.

Step I-1: Download LIGERLab-VM

  • Download the pre-built LIGERLab-VM image from the link above.
  • Extract the VM, using unzip
  • After successful extraction, you will see the file LIGER_VM_AutoAssign_Updated-disk1.vdi.

Step I-2: Create a Virtual Machine

  • Open VirtualBox from Finder or Start Menu or from its desktop icon..
  • Click New.
  • Set Name to LIGER
  •  Set Type to Linux  
  •  Set Version to Ubuntu 20.04 LTS (Focal Fossa) (64-bit)

Step I-3: Configure memory and CPU

  • The minimal memory size is 2GB. 
  • If the host machine has 8GB or more of RAM, you may select 4096 MB as the "Base Memory" for the VM.
  • If your host machine has 4 or more cores, you may select 2 CPUs as the number of "Processors" for the VM.

Step I-4: Configure the hard disk

  • When VirtualBox asks you whether you want to create a new virtual disk  or use an existing one; select Use an existing virtual hard disk file
  • Provide the LIGERLabs VM image named LIGER_VM_AutoAssign_Updated-disk1.vdi as the hard disk image.

Step I-5: VM start and login

  • Start the VM by clicking Start in the Oracle VM VirtualBox manager or right-click on name of the VM ("LIGER") and choose start.
  • When the virtual machine has started up, log in using the password liger.

Step I-6: Launch an application

  • Press Ctrl-Alt-t (on Windows) or Ctrl-Option-t (on MacOS) inside of the VM to open a terminal window.
  • Type "ghidraRun" at the terminal prompt, and press enter.
  • The graphical Ghidra application should start up.

Configuring the Virtual Machine

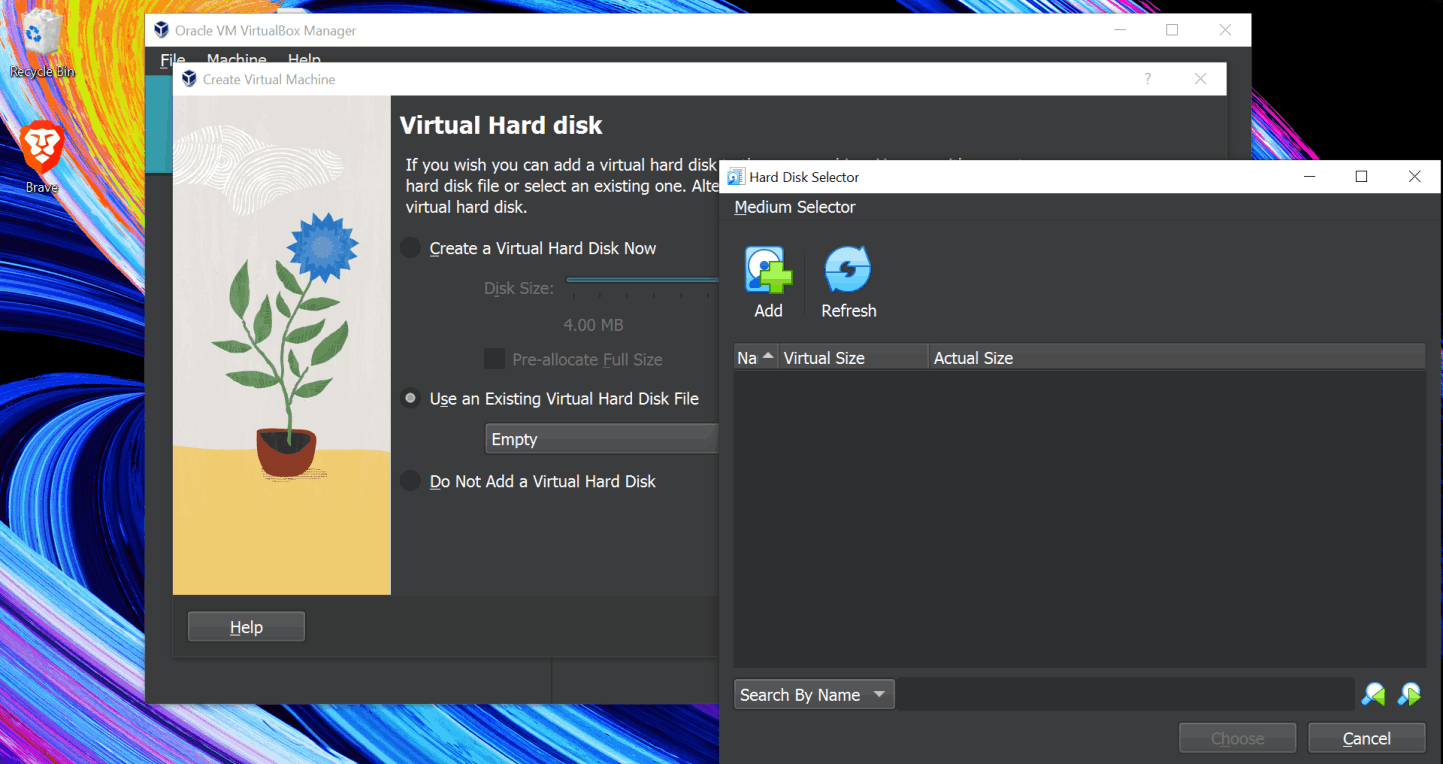
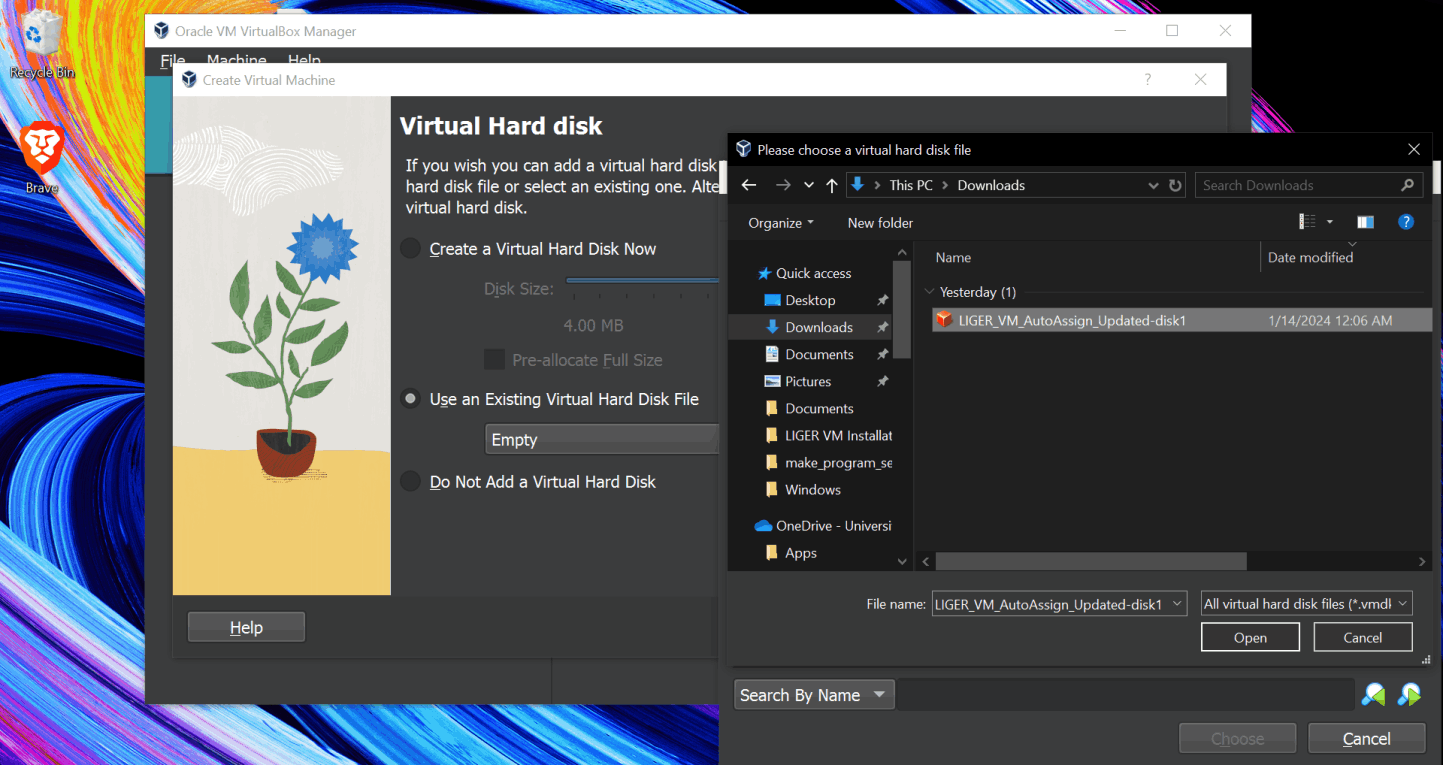
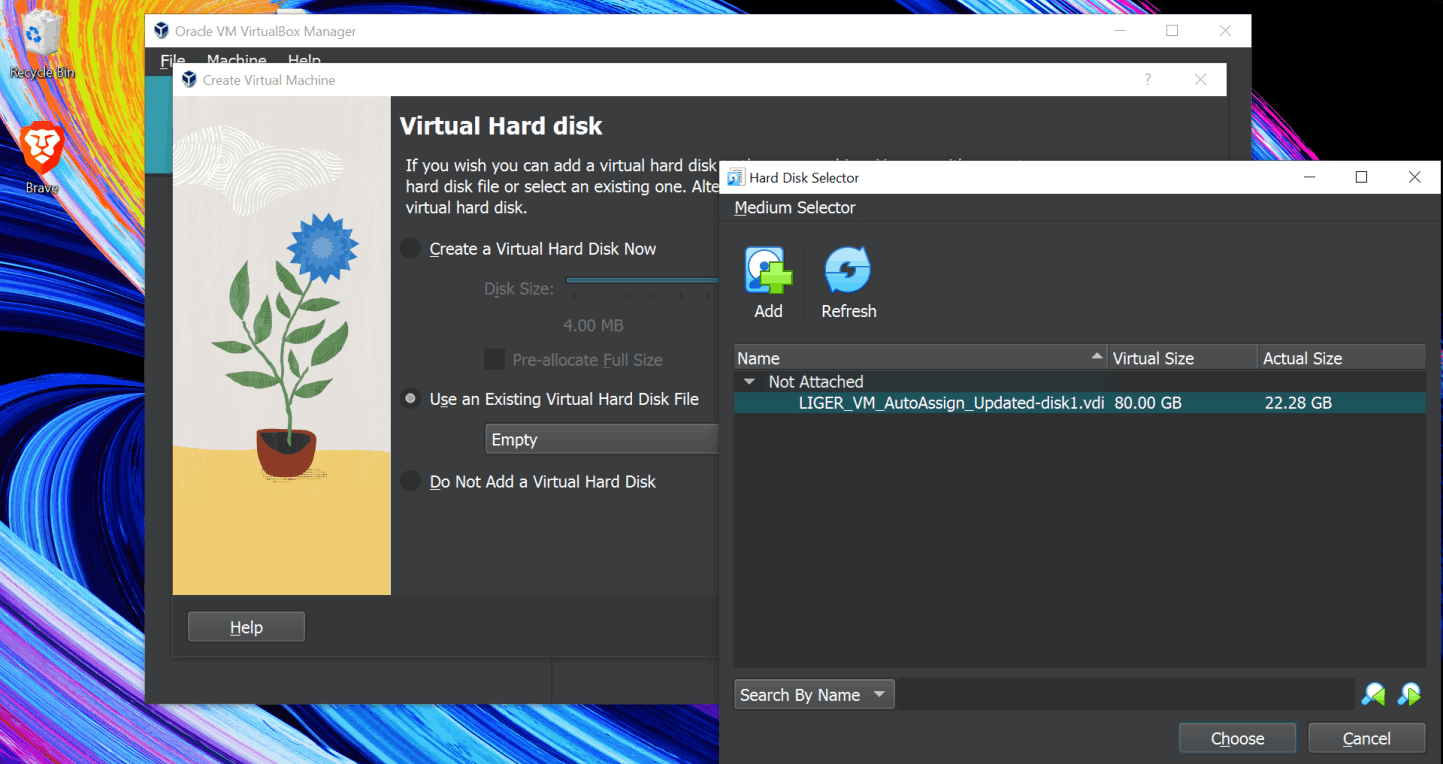
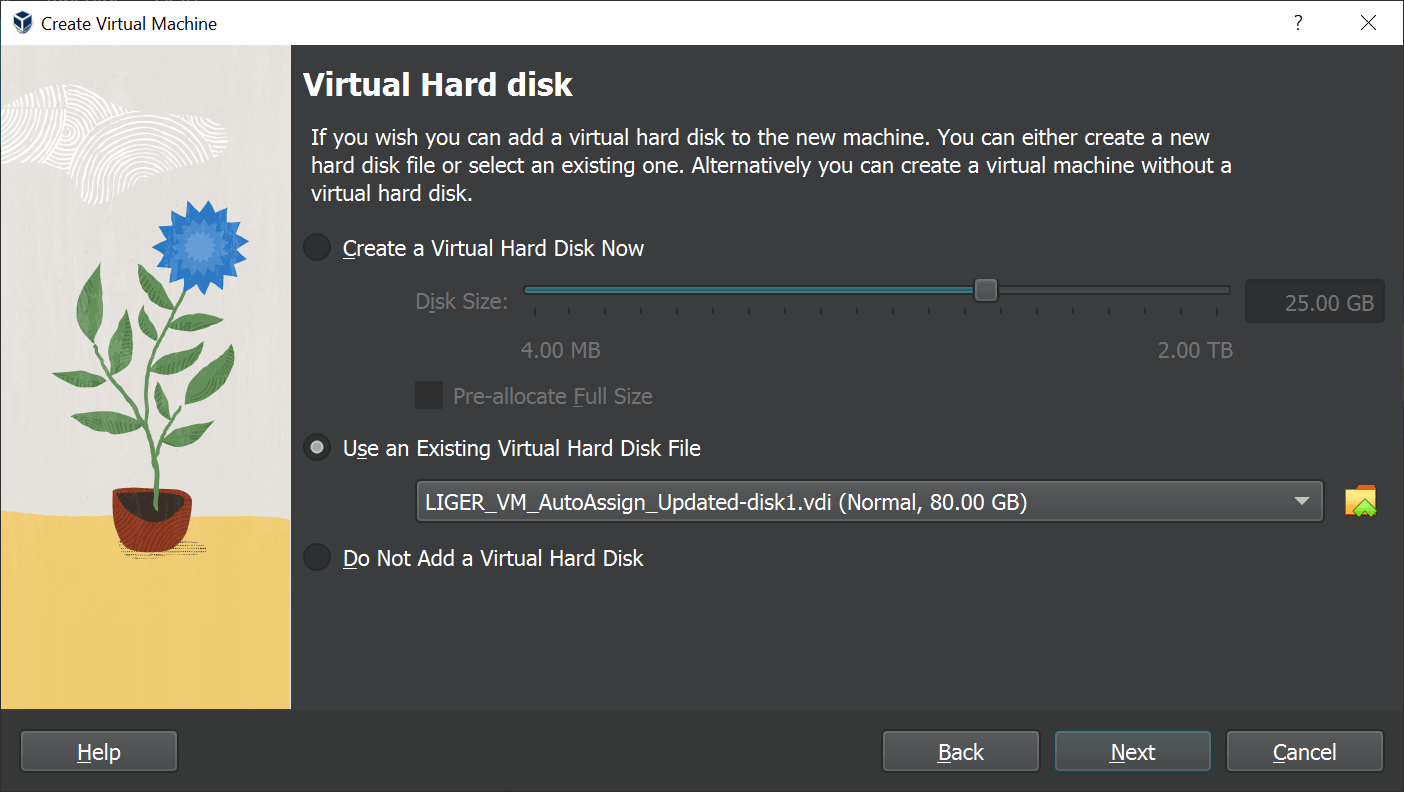
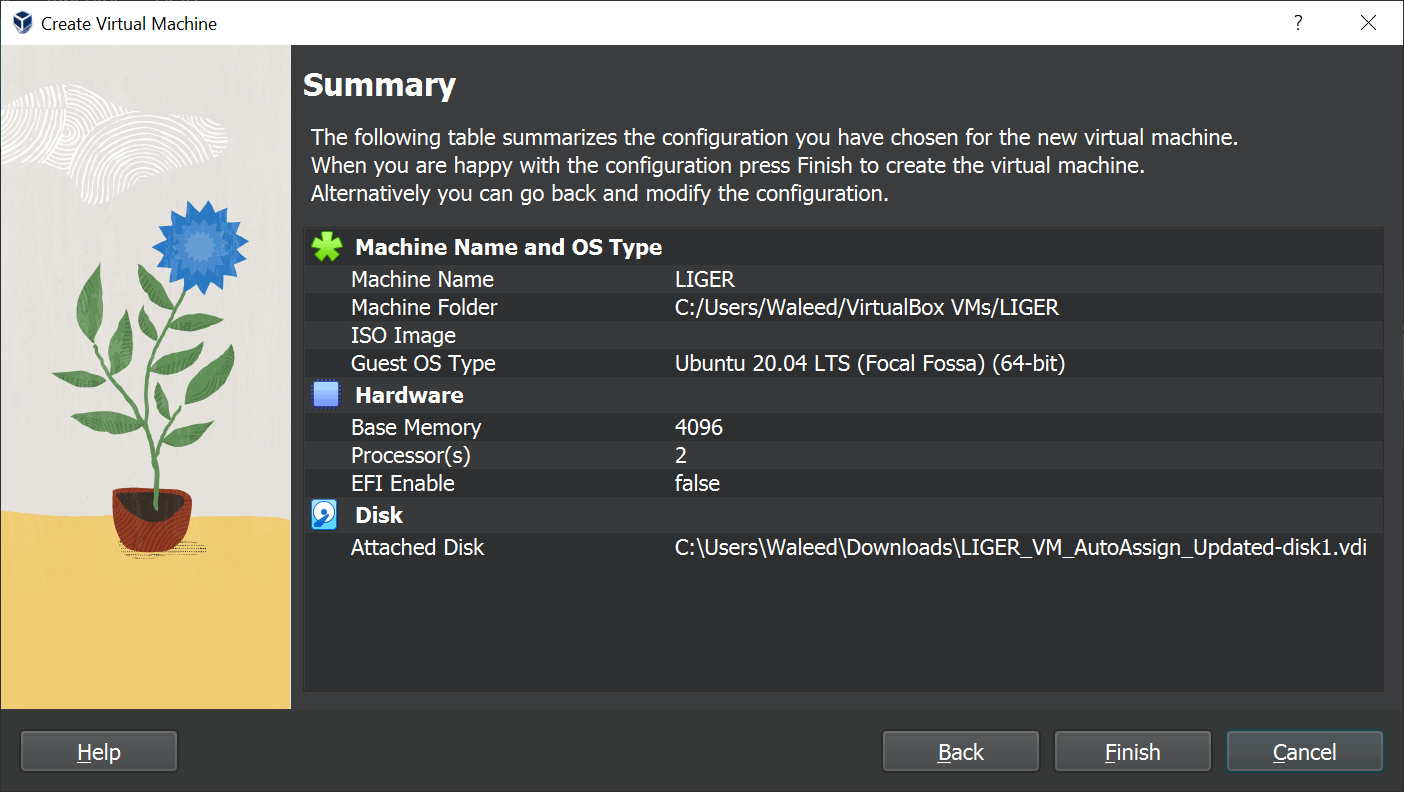
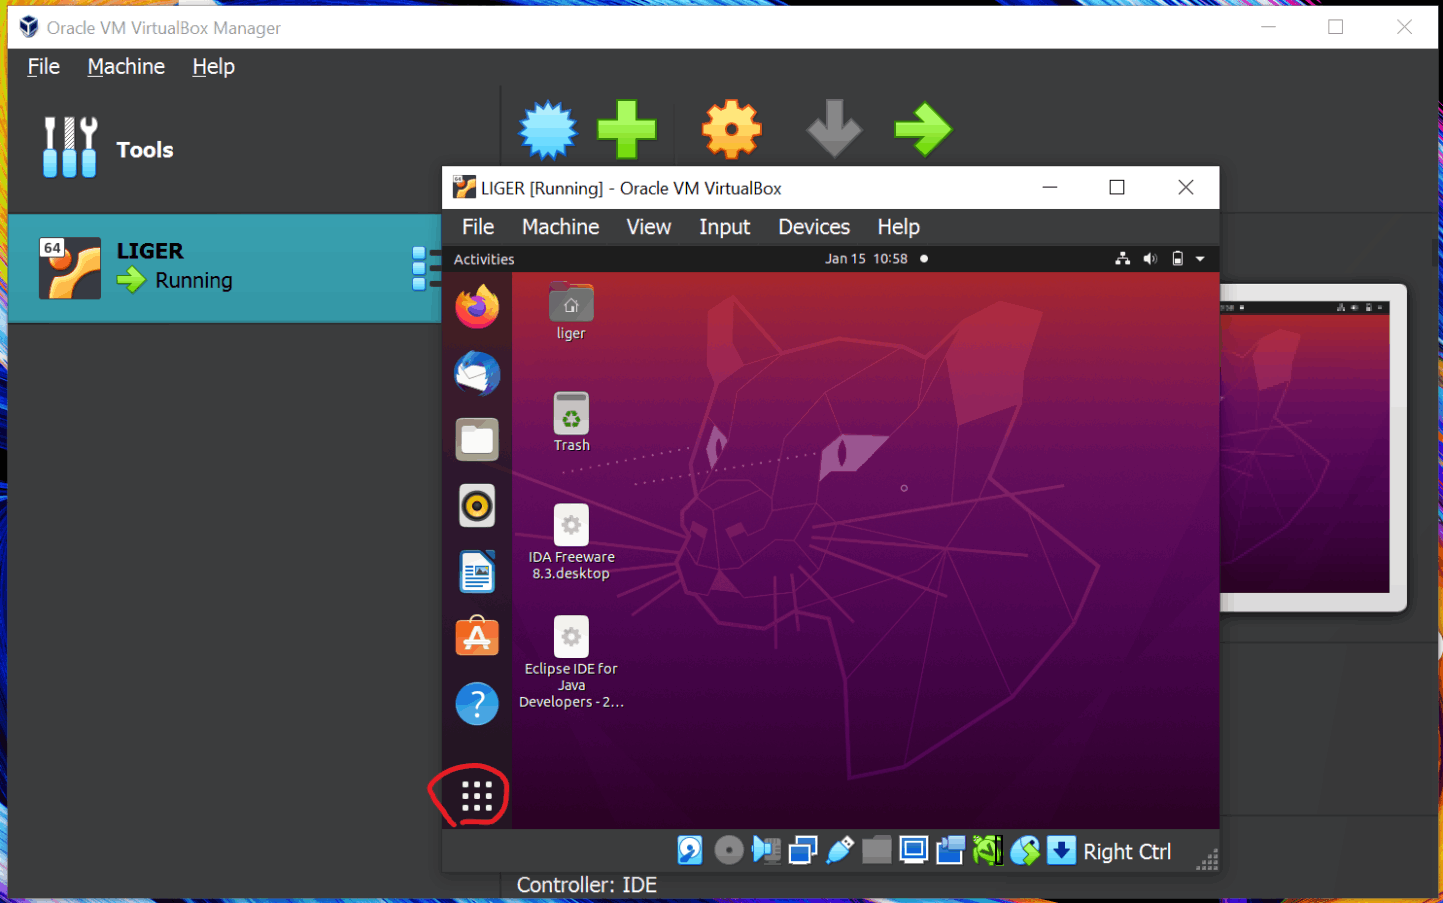
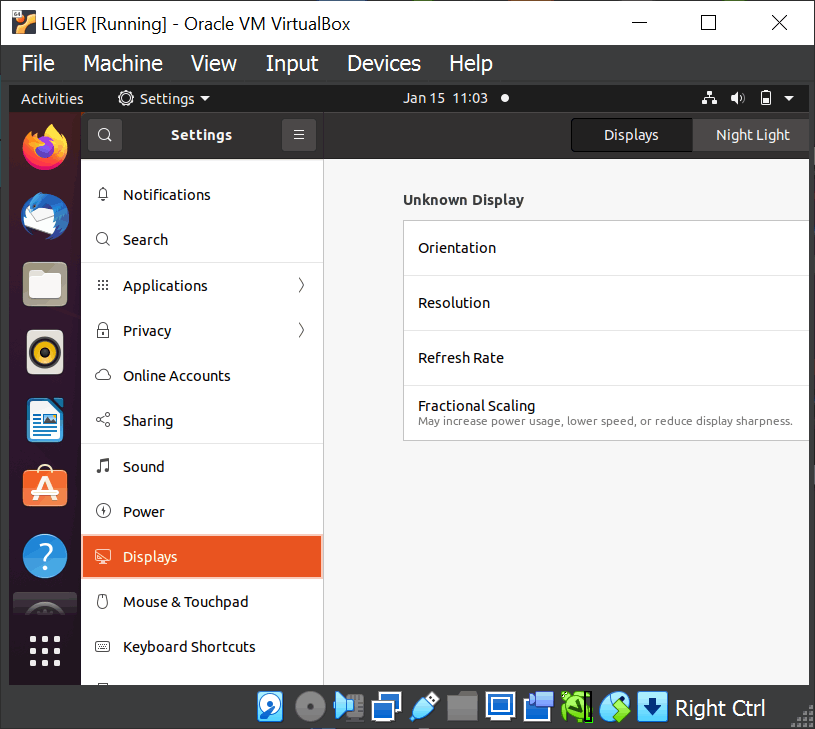
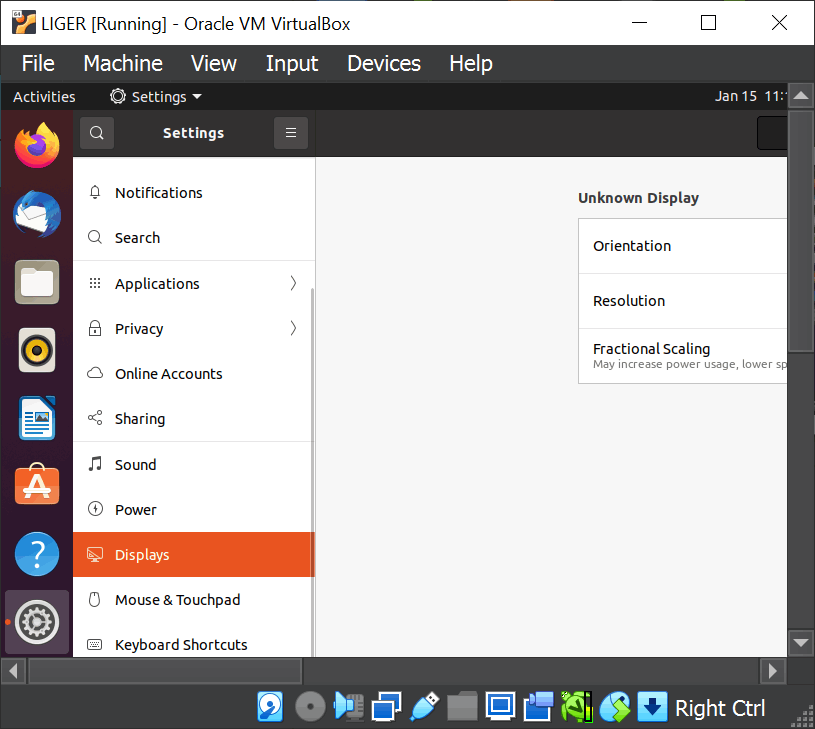
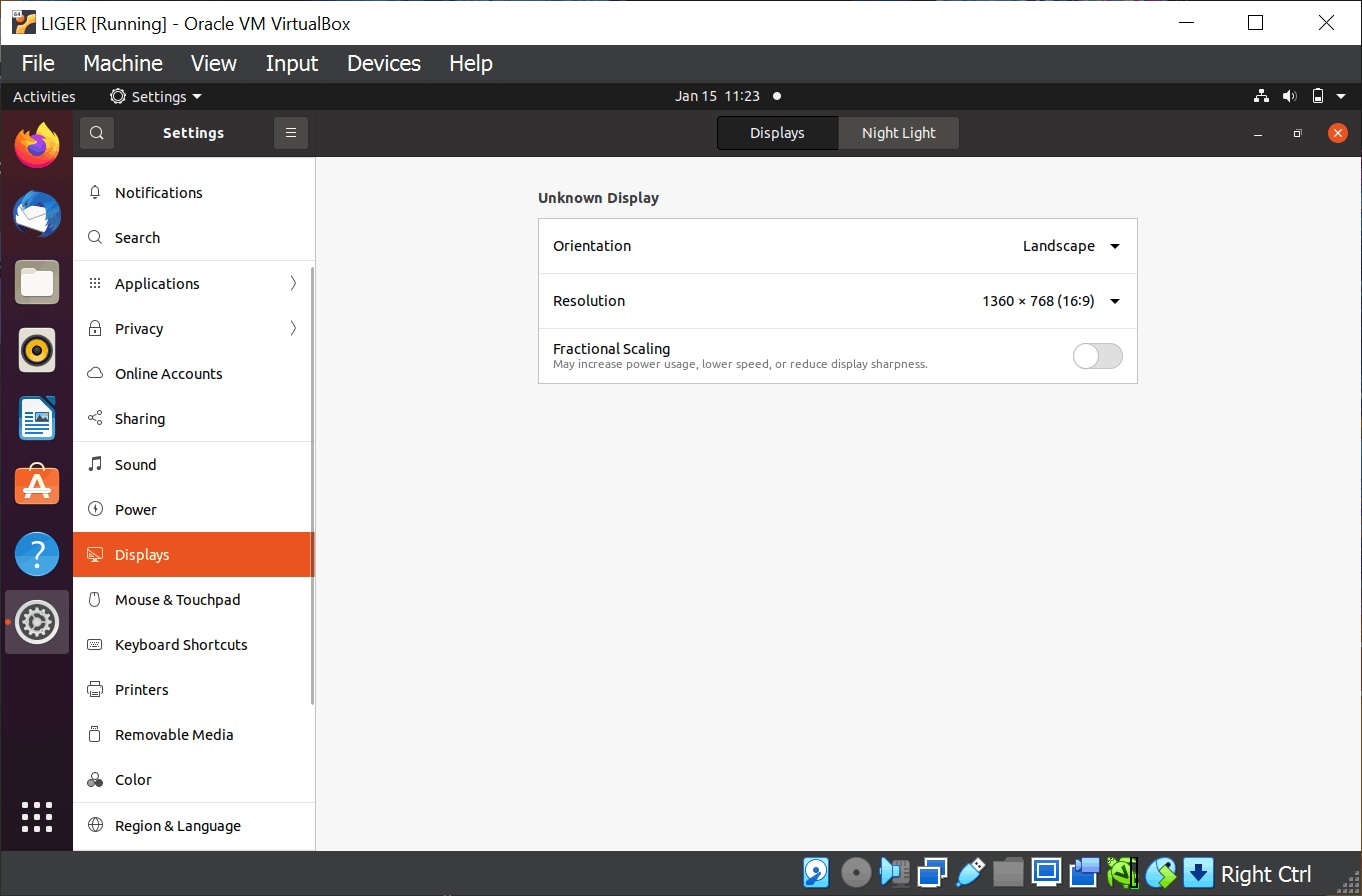
Performing the following steps will give you a virtual machine that is easier for you to work within.

Step C-1: Resize your virtual machine's display

  • Press the activities icon at the bottom left of the menu bar.
  • From the apps shown, select "Settings". (The word "Settings" might be truncated.)
  • From the Settings window that opens, select "Display".
  • The display settings might not fit fully on the screen.
  • Click the window's menu bar and drag it to fit the resolution option on the screen, or drag it to the top to cause Ubuntu to resize the window.
  • From the "Resolution" drop down menu, select a larger resolution that fits within the resolution of your host machine's display.
  • My host machine's display has resolution 1920x1080, and I set the VM's resolution to 1360x768.
  • Press the "Apply" button in the upper right corner of the window.
  • When prompted, press the "Keep Changes" button.
  • There is a VirtualBox menu at the top of the VMs window, and it includes a "View" item.
  • From the "View" menu, select "Auto-resize Guest Display".

Step C-2a: Create shared folders (MacOS/x86-64 host)

  • On the host machine (your MacOS computer), open a terminal and execute the commands "mkdir ~/Desktop/vboxshared;  chmod 777 ~/Desktop/vboxshared". This folder on your desktop will be connected to a folder in the VM, allowing you to easily share files.
  • In the VirtualBox menu bar, select Devices → Shared Folders →  Shared Folders Settings
  • Click on the "+" folder icon to create a new Machine folder.
  • Set the folder path to ~/Desktop/vboxshared (the desktop folder you created previously).
  • Set Read-only to off.
  • Set Auto-mount to on.
  • Set Make permanent to on,
  • Click OK.
  • On the guest (the virtual machine), open up a terminal and execute the following commands: " mkdir ~/Desktop/vboxshared;  chmod 777 ~/Desktop/vboxshared; sudo usermod -a -G vboxsf  liger;  sudo mount -tvboxsf vboxshared ~/Desktop/vboxshared"
  • You should now be able to copy files between the host and the guest but putting them in the vboxshared folders.

Step C-2b: Create shared folders (Windows host)

  • On the host machine (your Windows computer), open a file explorer window and navigate to the Desktop folder. Then, click the "New Folder" icon. Name your new folder "vboxshared". This folder on your desktop will be connected to a folder in the VM, allowing you to easily share files.
  • Follow the same instructions as for MacOS.

Step C-3: Enable Copy-Paste

  • In the VirtualBox menu bar, select DevicesShared ClipboardBidirectional
  • In the VirtualBox menu bar, select Devices Drag and Drop Bidirectional
  • In the VM use shift-control-C to copy and shift-control-V to paste.

Installed Software

In the pre-built LIGERLab-VM, we have installed sets of tools for reverse engineering, binary analysis, instrumentation, fuzzing, and obfuscation/anti-reverse engineering. 

Other Software

Here are links to software not installed (for licensing reasons, for example) in the virtual machines above but which you may want to install yourself.

Software Link
Ida Prodownload
Binary Ninjadownload
Binary Ninja (cloud)link